Android
Table of Contents
1. Android 基本介绍
Android 是当前最流行的手机操作系统之一。
参考:
Android Documentation: https://developer.android.com/docs
1.1. Android 版本历史
Android 版本历史如表 1 所示。
| Code name | Version number | Linux kernel version | Initial release date | API level |
|---|---|---|---|---|
| (No codename) | 1.0 | ? | September 23, 2008 | 1 |
| Petit Four | 1.1 | 2.6 | February 9, 2009 | 2 |
| Cupcake | 1.5 | 2.6.27 | April 27, 2009 | 3 |
| Donut | 1.6 | 2.6.29 | September 15, 2009 | 4 |
| Eclair | 2.0 – 2.1 | 2.6.29 | October 26, 2009 | 5 – 7 |
| Froyo | 2.2 – 2.2.3 | 2.6.32 | May 20, 2010 | 8 |
| Gingerbread | 2.3 – 2.3.7 | 2.6.35 | December 6, 2010 | 9 – 10 |
| Honeycomb | 3.0 – 3.2.6 | 2.6.36 | February 22, 2011 | 11 – 13 |
| Ice Cream Sandwich | 4.0 – 4.0.4 | 3.0.1 | October 18, 2011 | 14 – 15 |
| Jelly Bean | 4.1 – 4.3.1 | 3.0.31 to 3.4.39 | July 9, 2012 | 16 – 18 |
| KitKat | 4.4 – 4.4.4 | 3.10 | October 31, 2013 | 19 – 20 |
| Lollipop | 5.0 – 5.1.1 | 3.16 | November 12, 2014 | 21 – 22 |
| Marshmallow | 6.0 – 6.0.1 | 3.18 | October 5, 2015 | 23 |
| Nougat | 7.0 – 7.1.2 | 4.4 | August 22, 2016 | 24 – 25 |
| Oreo | 8.0 – 8.1 | 4.10 | August 21, 2017 | 26 – 27 |
| Pie | 9.0 | 4.4.107, 4.9.84, and 4.14.42 | August 6, 2018 | 28 |
1.2. Android 四大组件
Android 系统有下面四大组件:
1、活动(Activities),An activity is the entry point for interacting with the user. It represents a single screen with a user interface.
2、服务(Services),A service is a general-purpose entry point for keeping an app running in the background for all kinds of reasons. It is a component that runs in the background to perform long-running operations or to perform work for remote processes.
3、广播接收器(Broadcast receivers),A broadcast receiver is a component that enables the system to deliver events to the app outside of a regular user flow, allowing the app to respond to system-wide broadcast announcements.
4、内容提供器(Content providers),A content provider manages a shared set of app data that you can store in the file system, in a SQLite database, on the web, or on any other persistent storage location that your app can access. Through the content provider, other apps can query or modify the data if the content provider allows it. For example, the Android system provides a content provider that manages the user's contact information. As such, any app with the proper permissions can query the content provider, such as ContactsContract.Data, to read and write information about a particular person. It is tempting to think of a content provider as an abstraction on a database, because there is a lot of API and support built in to them for that common case.
参考:https://developer.android.com/guide/components/fundamentals
1.3. 第一个程序:Hello World
使用 Android Studio 的菜单创建工程,选择“Empty Activity”,不用手写一行代码就可以实现显示 Hello World 的 App。点击“Build”->“Make Project”,可以得到 apk 安装包,安装打开后如图 1 所示。
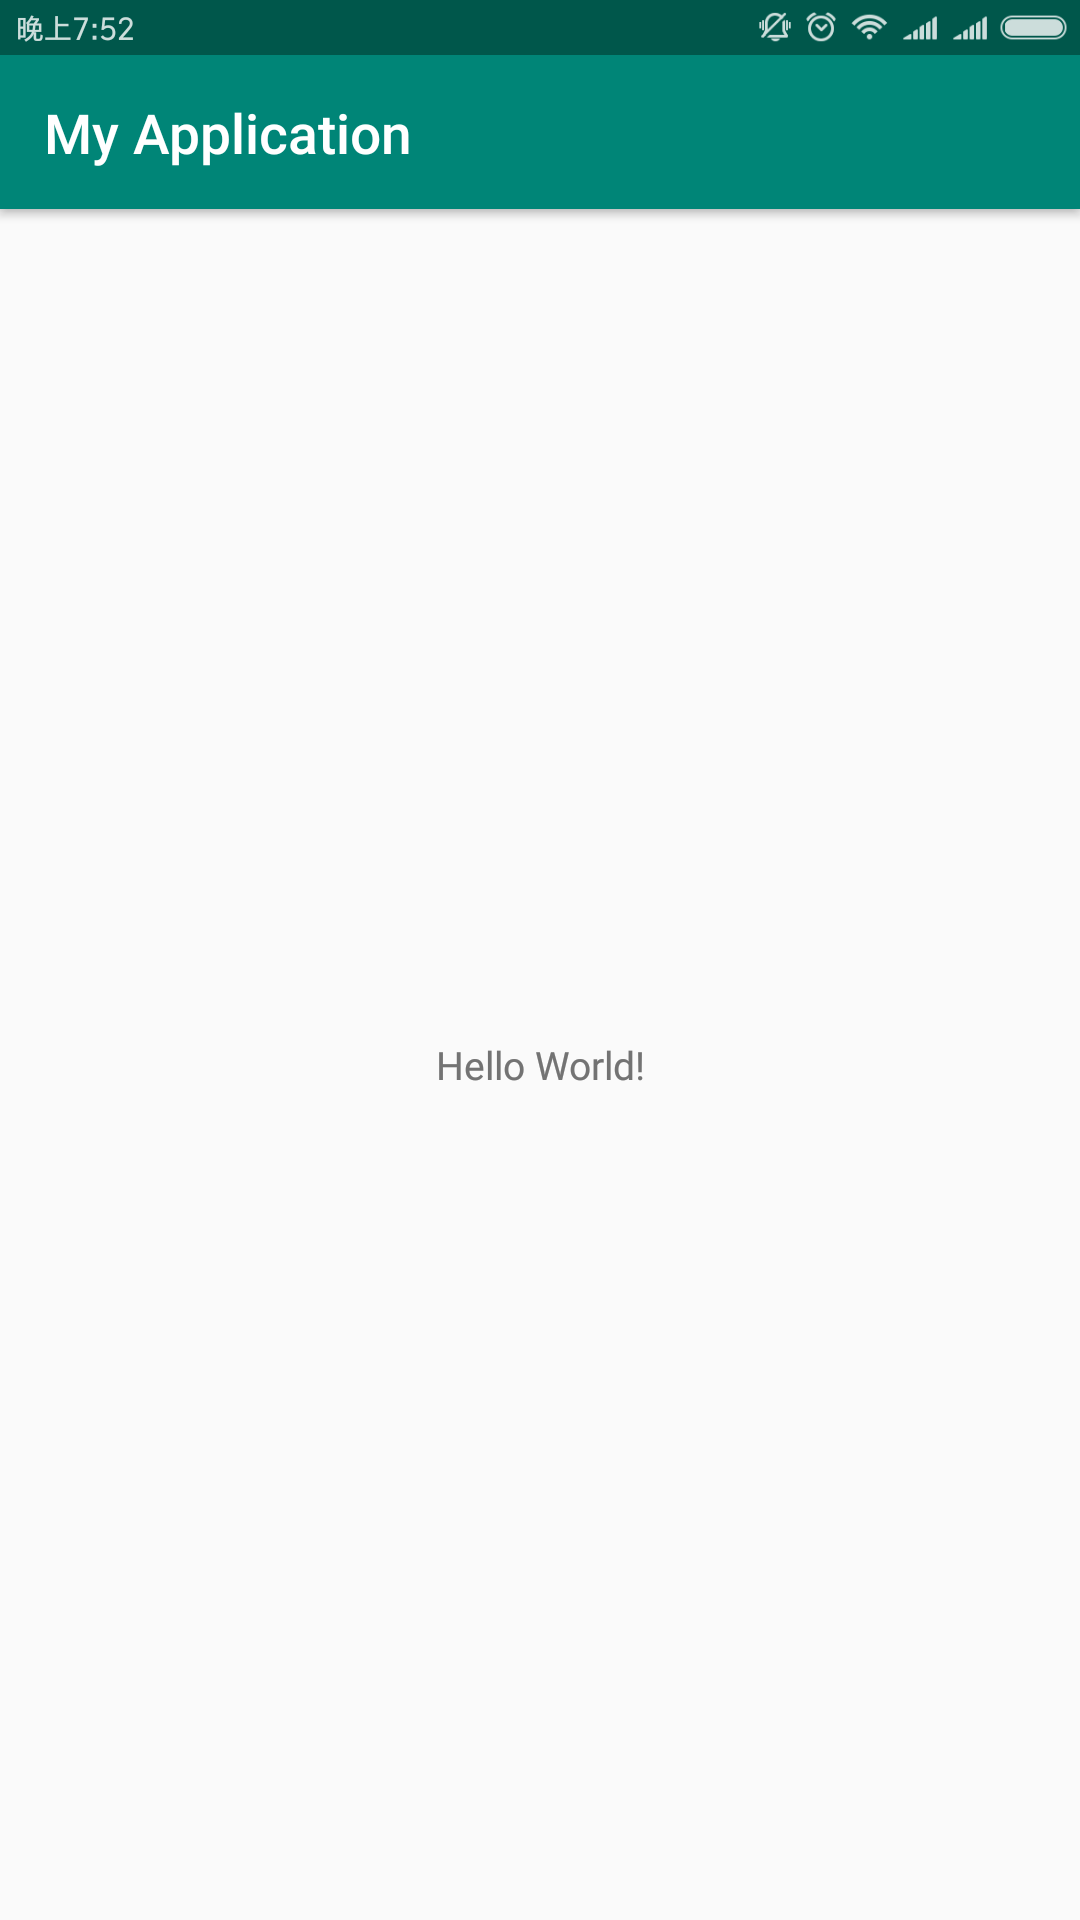
Figure 1: Hello World
这个工程中,自动生成的源码主要为“app/src/main/java/com/example/myapplication/MainActivity.java”,其内容为:
package com.example.myapplication;

import android.support.v7.app.AppCompatActivity;
import android.os.Bundle;

public class MainActivity extends AppCompatActivity {

    @Override
    protected void onCreate(Bundle savedInstanceState) {
        super.onCreate(savedInstanceState);
        setContentView(R.layout.activity_main);
        //                     ^
        //                     |
        //                     |
        //                 对应文件
        //  app/src/main/res/layout/activity_main.xml
    }
}
上面源码中,并没有“Hello World”字样,那它是从哪里来呢?“Hello World”保存在文件“app/src/main/res/layout/activity_main.xml”中,这个文件中定义了 UI 布局相关内容,其完整内容为:
<?xml version="1.0" encoding="utf-8"?>
<android.support.constraint.ConstraintLayout xmlns:android="http://schemas.android.com/apk/res/android"
    xmlns:app="http://schemas.android.com/apk/res-auto"
    xmlns:tools="http://schemas.android.com/tools"
    android:layout_width="match_parent"
    android:layout_height="match_parent"
    tools:context=".MainActivity">

    <TextView
        android:layout_width="wrap_content"
        android:layout_height="wrap_content"
        android:text="Hello World!"
        app:layout_constraintBottom_toBottomOf="parent"
        app:layout_constraintLeft_toLeftOf="parent"
        app:layout_constraintRight_toRightOf="parent"
        app:layout_constraintTop_toTopOf="parent" />

</android.support.constraint.ConstraintLayout>
此外,还有一个重要的 Manifest 文件 “app/src/main/AndroidManifest.xml”,包含了 App 配置信息。这个例子中其内容为:
<?xml version="1.0" encoding="utf-8"?>
<manifest xmlns:android="http://schemas.android.com/apk/res/android"
    package="com.example.myapplication">

    <application
        android:allowBackup="true"
        android:icon="@mipmap/ic_launcher"
        android:label="@string/app_name"
        android:roundIcon="@mipmap/ic_launcher_round"
        android:supportsRtl="true"
        android:theme="@style/AppTheme">
        <activity android:name=".MainActivity">
            <intent-filter>
                <action android:name="android.intent.action.MAIN" />

                <category android:name="android.intent.category.LAUNCHER" />
            </intent-filter>
        </activity>
    </application>

</manifest>
2. Android Debug Bridge (adb)
adb 是 Android Debug Bridge 的简称,它是 Android SDK 中的一个工具,所在位置为 sdk/platform-tools/adb。
It is a client-server program that includes three components:
- A client, which sends commands. The client runs on your development machine. You can invoke a client from a command-line terminal by issuing an adb command.
- A daemon (adbd), which runs commands on a device. The daemon runs as a background process on each device.
- A server, which manages communication between the client and the daemon. The server runs as a background process on your development machine.
当启动 adb client 时,首先会检查 adb server 是否在开发主机上运行;如果没有,则在开发主机上启动 adb server 并绑定到 TCP 的 5037 端口。
下面是 adb client 自动启动的 adb server:
$ ps 9854
  PID   TT  STAT      TIME COMMAND
 9854   ??  Ss     1:44.56 adb -L tcp:5037 fork-server server --reply-fd 4
2.1. 列出连接的设备(devices)
列出当前连接的所有设备(包含真机和模拟器):
$ adb devices
List of devices attached
f0146a44	device
emulator-5554	device

$ adb devices -l            # -l 可显示更详细的信息
List of devices attached
f0146a44               device usb:336592896X product:oxygen model:MI_MAX_2 device:oxygen transport_id:4
emulator-5554          device product:sdk_gphone_x86 model:Android_SDK_built_for_x86 device:generic_x86 transport_id:2
当只有一个连接设备时,adb 命令都默认针对这个设备,不需要显式地指定设备。当有多个连接设备时,通过 -s SERIAL (其中 SERIAL 就是 adb devices 的第 1 列输出)可以选择哪个设备,如在设备 f0146a44 上安装软件:
$ adb -s f0146a44 install ./your-app.apk
2.2. 安装卸载软件(install/uninstall)
安装软件:
$ adb install ./your-app.apk
Performing Streamed Install
Success
卸载软件:
$ adb uninstall com.example.MyApp
卸载软件时,需要指定 package 名。通过下面命令可以列出设备中安装的第 3 方软件的 package 名:
$ adb shell pm list packages -3
package:com.baidu.input_mi
package:com.google.android.marvin.talkback
package:com.baidu.duersdk.opensdk
2.3. 在设备和主机之间复制文件(pull/push)
使用 adb pull 和 adb push 可以在设备和主机之间复制文件:
$ adb pull remote local               # 从设备复制文件到本地
$ adb push local remote               # 从本地复制文件到设备
例如:
$ adb push foo.txt /sdcard/foo.txt # 把本地文件 foo.txt 复制到设备中
2.4. shell 命令
执行 adb shell 可以得到一个交互式的 shell。
2.4.1. Activity Manager 工具(am)
使用 Activity Manager 工具可以启动 Service、启动 App、杀死进程、发送 broadcast、启动 profiler 等等。
oxygen:/ $ am start -a android.intent.action.VIEW -d https://bing.com/         # 浏览器打开网页
oxygen:/ $ am start -a android.intent.action.CALL -d tel:10086                 # 启动拨号盘,打电话
完整的 am 命令可参考:https://developer.android.com/studio/command-line/adb#am
2.4.2. 包管理(pm)
使用 pm 可以对设备上包进行管理。
oxygen:/ $ pm list packages                    # 列出所有安装的软件包
oxygen:/ $ pm list packages -3                 # 仅列出安装的第3方软件包
oxygen:/ $ pm list packages -s                 # 仅列出安装的系统软件包
oxygen:/ $ pm install /sdcard/you-app.apk      # 安装软件包
oxygen:/ $ pm uninstall com.example.MyApp      # 卸载软件包 com.example.MyApp
oxygen:/ $ pm clear com.example.MyApp          # 删除软件包 com.example.MyApp 的数据
完整的 pm 命令可参考:https://developer.android.com/studio/command-line/adb#pm
2.4.3. 截屏(screencap)
使用 screencap 可以进行截屏,下面是使用实例:
$ adb shell                                 # 进入 shell
oxygen:/ $ screencap /sdcard/screen.png     # 在 shell 中执行 screencap 完成截屏
oxygen:/ $ exit
$ adb pull /sdcard/screen.png               # 通过 adb pull 把设备中的截屏文件复制到主机中
2.4.4. 录像(screenrecord)
使用 screenrecord 可以进行截屏,下面是使用实例:
$ adb shell                                         # 进入 shell
oxygen:/ $ screenrecord --verbose /sdcard/demo.mp4    # 在 shell 中执行 screenrecord 开始截屏
(press Control + C to stop)
oxygen:/ $ exit
$ adb pull /sdcard/demo.mp4                         # 通过 adb pull 把设备中的录像文件复制到主机中
3. Tips
3.1. 命令行编译
进入到工程根目录,执行 ./gradlew assembleRelease 可以得到 apk 安装程序,如果还想得到更详细的输出可以增加 --info 或者 --debug 选项。如:
$ ./gradlew assembleRelease

BUILD SUCCESSFUL in 44s
27 actionable tasks: 26 executed, 1 up-to-date

$ find . -name "*.apk"
./app/build/outputs/apk/release/app-release-unsigned.apk   # 这里新生成的apk文件
进入到工程根目录,执行 ./gradlew assembleDebug 可以得到 Debug 版本的 apk 安装程序。如:
$ ./gradlew assembleDebug

BUILD SUCCESSFUL in 4s
27 actionable tasks: 26 executed, 1 up-to-date

$ find . -name "*.apk"
./app/build/outputs/apk/release/app-release-unsigned.apk
./app/build/outputs/apk/debug/app-debug.apk
运行 ./gradlew clean 可以清除编译生成的文件。
$ ./gradlew clean

BUILD SUCCESSFUL in 0s
2 actionable tasks: 2 executed
运行 ./gradlew tasks 可以查看所有支持的任务。如:
$ ./gradlew tasks

> Task :tasks

------------------------------------------------------------
All tasks runnable from root project
------------------------------------------------------------

Android tasks
-------------
androidDependencies - Displays the Android dependencies of the project.
signingReport - Displays the signing info for each variant.
sourceSets - Prints out all the source sets defined in this project.

Build tasks
-----------
assemble - Assembles all variants of all applications and secondary packages.
assembleAndroidTest - Assembles all the Test applications.
assembleDebug - Assembles all Debug builds.
assembleRelease - Assembles all Release builds.
build - Assembles and tests this project.
buildDependents - Assembles and tests this project and all projects that depend on it.
buildNeeded - Assembles and tests this project and all projects it depends on.
bundleDebug - Creates all Debug bundles.
bundleRelease - Creates all Release bundles.
clean - Deletes the build directory.
cleanBuildCache - Deletes the build cache directory.
compileDebugAndroidTestSources
compileDebugSources
compileDebugUnitTestSources
compileReleaseSources
compileReleaseUnitTestSources

......
参考:https://developer.android.com/studio/build/building-cmdline
3.2. 命令行启动模拟器
执行 emulator -list-avds 可以列出系统中已经存在的 Android Virtual Devices (AVD),如:
$ ~/Library/Android/sdk/emulator/emulator -list-avds                # 列出 avd,目前只有一个 avd
Nexus_5X_API_28_x86
执行 emulator -avd name 可以启动相应的 AVD,如:
$ ~/Library/Android/sdk/emulator/emulator -avd Nexus_5X_API_28_x86  # 启动 avd Nexus_5X_API_28_x86
$ ~/Library/Android/sdk/emulator/emulator @Nexus_5X_API_28_x86      # 同上
把 apk 文件拖拽到 AVD 屏幕窗口里,就可以安装 apk 了。
参考:https://developer.android.com/studio/run/emulator-commandline